

Since then, I've had to replace the 3M fixture TWICE, but the wreath has held up perfectly (even with the two falls)! So now, a tutorial.
This is what I started with...a pile of leafy twigs and branches.

1. Remove leaves and some small twiglets* from the branches. I say some because you need to leave most of the twiglets for further wrapping purposes. Ideally, you want to keep twigs that are flexible and will be easily bent without breaking. An essential factor to flexibility is not waiting too long after the branches have been cut to make the wreath. You don't want the branches to dry out, as they will break more easily once they have.
Once you've removed the leaves, you should have a pretty little pile of twigs, like this.


2. Chose a solid starting piece. As the base of your wreath, you'll want a sturdy, somewhat thicker branch to serve as a form for the wreath shape. Again, this piece will need to be fairly flexible, as it should not get bent or broken at any point on the circle.


3. Secure the open ends of the branch into a circle with floral wire. This may take a few pieces of floral wire, depending on how thick your starter branch is. I would also recommend that you overlap the two open ends a bit to allow more space for wrapping the wire. This will also help to prevent a sharp point in the circle.


4. Begin wrapping twigs around the starter branch. This will be done, by securely holding the end of the wrapping twig while you weave the twig around the wreath. You should be twisting the twig over the top, through the inside and under the bottom, around the wreath. For now, ignore any smaller twiglets that may be protruding from wreath shape.

5. Tuck the end of the twig in between branches. If there isn't really a place to tuck, just secure the ends so they done come un-twisted. As you continue wrapping twigs, they will hold down the lower levels of twigs.
6. Continue wrapping twigs around the wreath. As you wrap, keep an eye out for parts of the wreath that are looking thin. Try to start your twigs in these spots or loosen the twig to fill more space.

NOTE: Be sure you're covering the floral wire. This shouldn't be too hard to do, but if you have problems, just remember that a burlap ribbon is a very concealing way to hang a wreath!

7. Finally, tuck the twiglets between spaces in the wreath. If you haven't been tucking as you go, this is the time to clean up those messy twiglets! They should tuck pretty easily into the spaces of the other twigs, and if they don't...

You can cop that sucker off. Who needs it?!
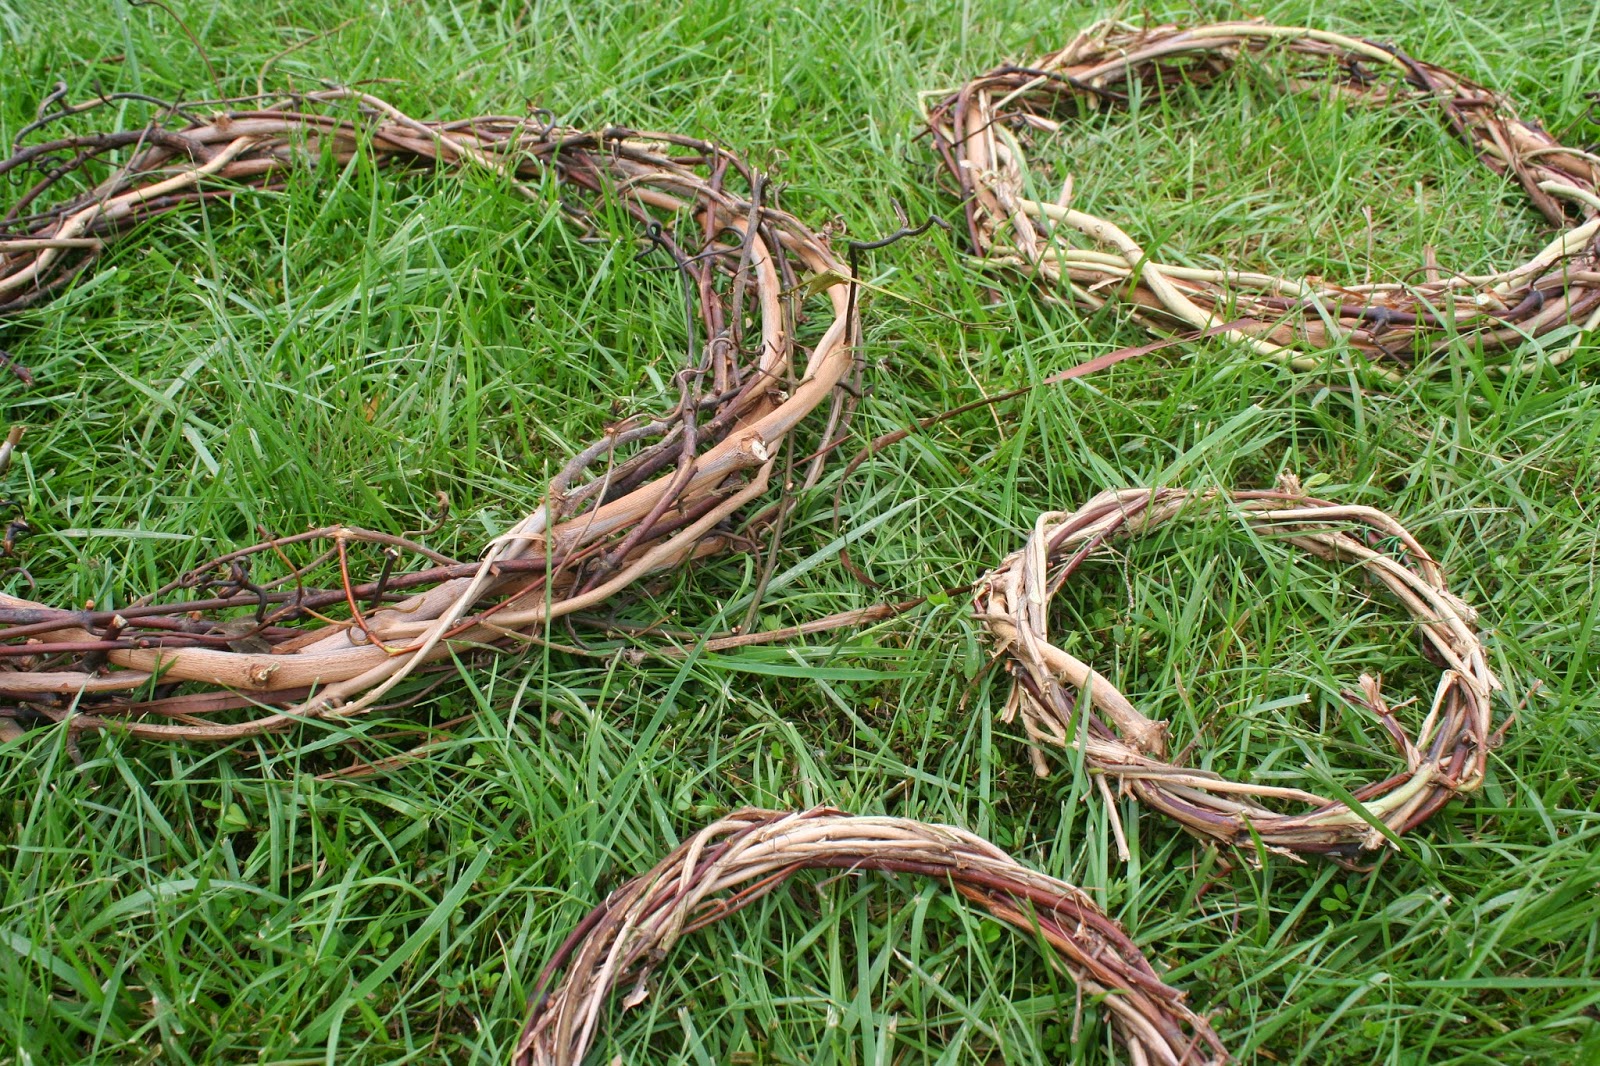
From the pile of branches I had, we made four large and two mini wreaths, so I can't image you'll need more than about 10 twigs per wreath. I say "we" because I actually got Aaron in on this one. I would say he's crafty, but he really only did it to prove he could...bit competitive, this one.

* twiglets: the small twig off-shoots from the main twig or branch...duh.
No comments:
Post a Comment