

I was able to round up three clipboards and had to buy a pack of two of Walmart. I would like to have six boards (for aesthetic purposes) but I refuse to buy a pack of two when I only need one. The role of cork was purchased at Hobby Lobby, a little pricy, but I'll definitely get my use out of it. AND you can't forget to use the 40% coupon on the Hobby Lobby app when purchasing any regular price items. Come on, don't be an amature, you gotta know this kinda stuff! I see the cork is on the Hobby Lobby website for $3.49 (12" x 24" role)! Such as steal. My only concern would be that it's called "Light," so it might not be very thick. If you wanted a little wider, more durable cork role to work with, they also have 24" x 96" (what I have), for $10.49.
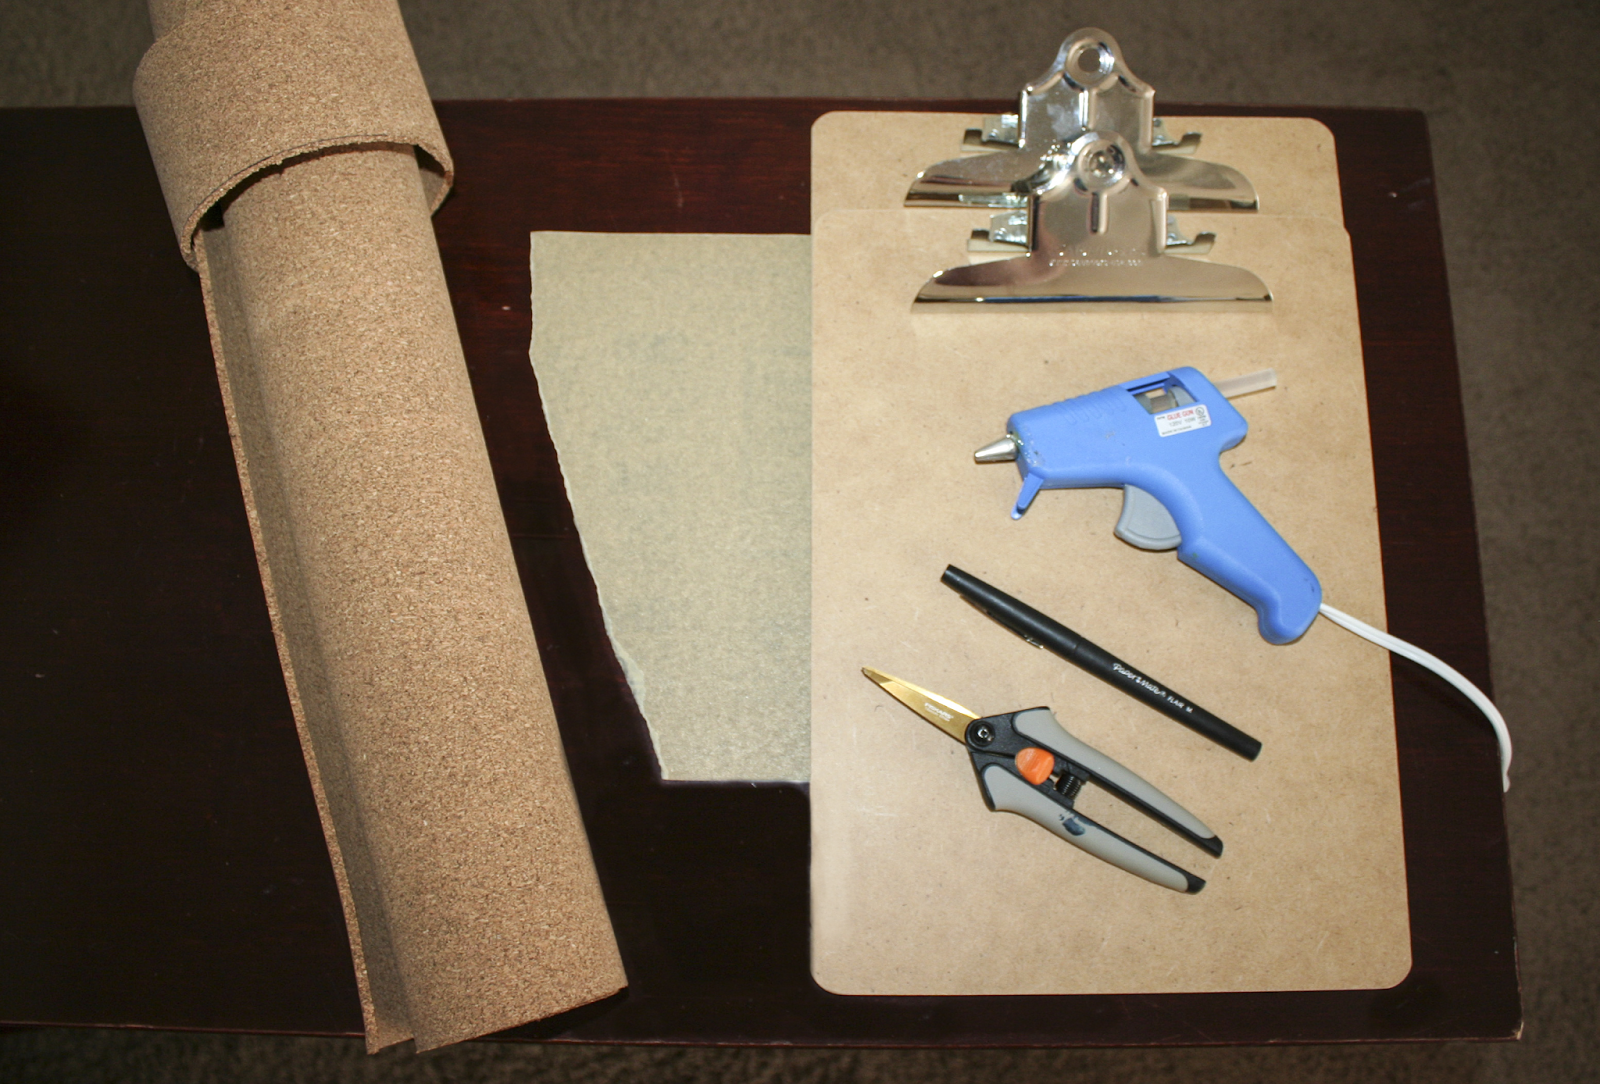
MATERIALS:
- Clipboards
- Role of cork
- Pen
- Scissors
- Hot glue gun
- Pattern of clip
- Sandpaper
DIRECTIONS:

1. Trace the outside edge of the clipboard onto the cork. Make two little dashes on the cork where the far edges of clip fixture will line up. I mean the far edges, not the point where the top of the clipboard and the fixture meet, that's just too tricky. Once you've traced the edges, cut out the shape carefully. The cork can get caught and tear easily.
TIP: The cork role is tricky, because it isn't very malleable and wants to stay rolled. In order not to have pen edges that show, you should trace the corkboard on the inside of the role. NOT as I have shown in the picture.

2. Line up the pattern of the clip with the dashes you made when tracing. As you can see in the picture, the dash should align with the far edge of the pattern. Then cut out the space for the clip fixture...very carefully. It's alright if you accidently cut off the small top edge, you can hot glue it back on and it's hardly noticeable.
3. Now you're ready to hot glue the cork to the clipboard. First, wiggle the top of the cork shape into place under the clip fixture and let the clip lock back into place. Then, run the hot glue around the edges of the fixture so that portion is secured. Once the top of the cork is adhered to the clipboard go around the edges and do the rest. Try to run the glue as close the edge as possible. If necessary, binder clips can be used (see below) to keep curling edges flush.

3. Now, the edges of the cork are going to be pretty jagged, which is where the sandpaper comes in. Just sand down those edges until the are smooth and level.
4. Get inspired! Now that you've got your cork-clipboards, you can start collecting pieces of inspiration. Whether for specific projects or just general ideas, you can clip down tentative bits of inspiration and finally pin them in when you know you love it!
No comments:
Post a Comment